Just the other day I was walking around
Target, like I do almost daily, perusing the clearance rack in the baby clothes department. I stumbled upon this gem, an orange hoodie which seemed perfect because the chilly California nights are quickly approaching. Best part of the entire deal was the fact that this baby was going to be fifty percent off it's original price and ended up only costing me $2.25. But, the more I looked at it, the more it looked a little "boyish" to me. I hemmed and hawed over it for a while, but finally threw it in the cart fully knowing that something would pop into my mind.
And a popping it did, or should I say a ruffling!
I need to lead into my tutorial with this warning. I am not a pro sewer, nor have I been doing it a long while. In fact, the sewing bug just bit me a only a few weeks ago and now you can't keep me out of
Joann Fabrics and
Michaels or away from my machines! Thus, my terminology might be off, my skill level low, and my final product imperfect. However, I have fun sewing, what I make turns out usable and cute, and I think I'm getting better. So, if you looking for a tutorial that essentially tells you the simplest way to make your final product, then continue reading!
Ruffled Girls Hoodie
After you have found your right hoodie, shirt, or other item that you want to ruffle, go ahead and pick a coordinating fabric. The types of fabric you choose do not need to be the same for both items. As you can see here, I chose a hoodie made from a jersey material, and a ruffle made from one hundred percent cotton.
Next, we are going to lay our fabric out on a hard surface, measure the width you want your ruffle to be (remember to give yourself plenty of extra space for making a seam), and then you can simply cut a few inches and gently rip the fabric all the way down to the end. If you have never ripped fabric before, you should give it a try. If you do not feel confident with ripping, then go ahead and cut your strip. I chose to rip my strips 3 inches wide, but it is totally up to you.
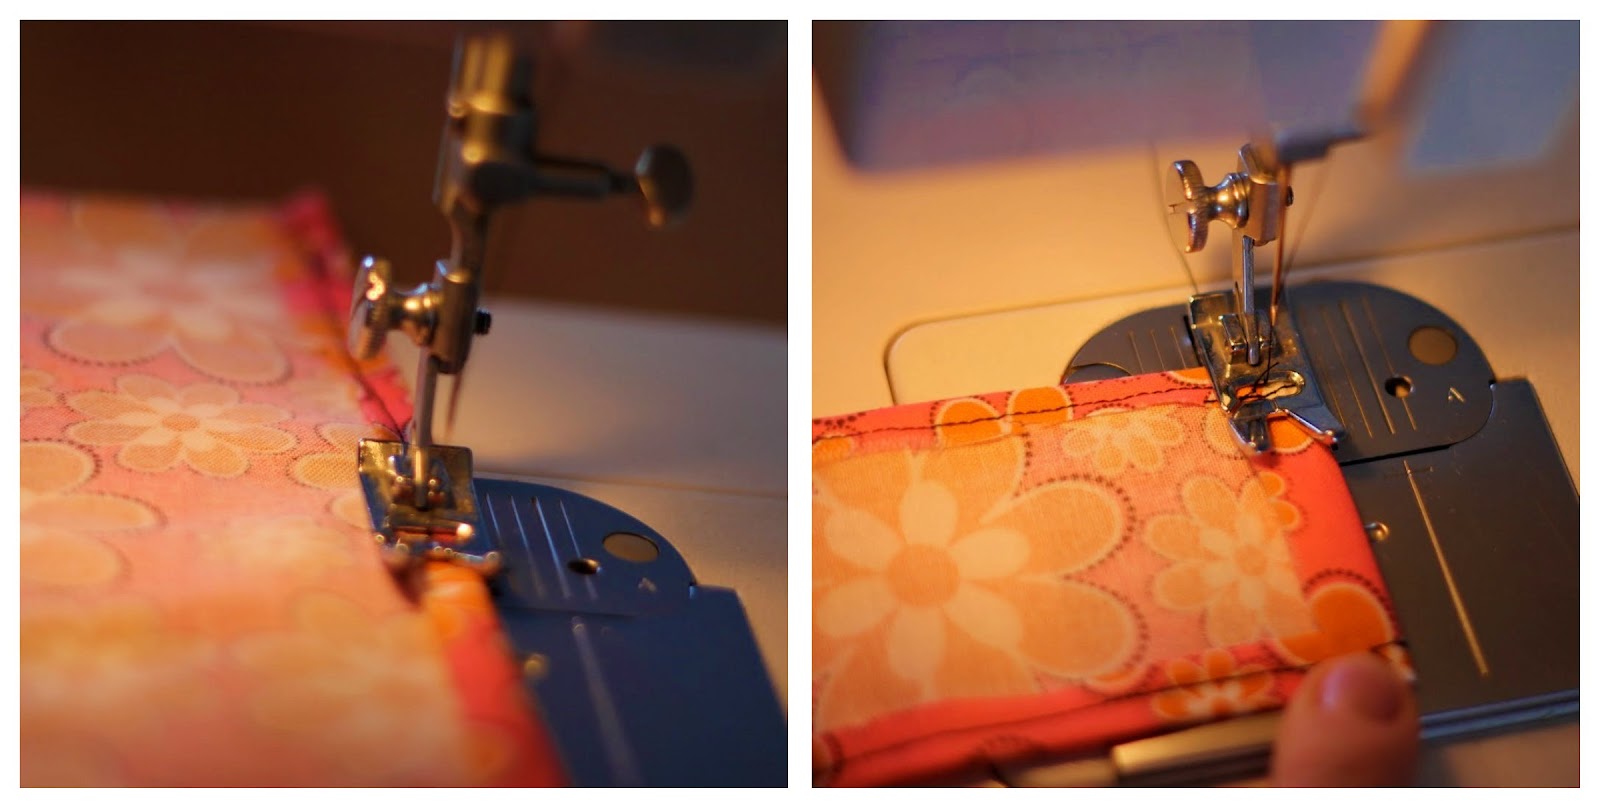
Once you have your two pieces of fabric, go ahead and fold over each side about 1/2 inch, and sew up the seam. You want to make sure your sew machine is set on a straight stitch with a stitch length around 2 or 2 1/2.
When all seams have been sewn, we are going to gather. Gathering sounds hard, and you might even be intimidated. I know I was at first. But, it is very easy. You want to make sure you have your sew machine still set on a straight stitch with your stitch length set as long as possible (it is a 5 on my machine). You will stitch two straight parallel lines down the middle of your material leaving a few inches of lag thread on each end.
Now, you must separate your threads. You should have two in the front and two in the back on each end. Take the two back strings on on end, and gently pull. The fabric will begin to ruffle up. You want to continue this process all the way until the ruffle is your desired length. Then, tie the front strings together and the back strings together on both sides of the ruffle. You can cut the excess thread when knots are in place.
Pin your new ruffle right next to the zipper. You don't want it exactly on top of the zipper, because that will be hard to sew, and hard to zip. I used two pins on both ends of the ruffle in order to help it stay in place will stitching. Once you have it pinned, go ahead and sew a straight stitch, with a stitch length back around 2 1/2, straight down the middle of the two lines you used for gathering. Make sure you do a backwards/forwards on both ends to lock your ruffle in place. Repeat this step on the opposite side of the zipper with your second ruffle.
And...PRESTO! You have a new girly ruffled orange hoodie which looks absolutely adorable on my little Sweet Pea, if I do say so myself.
This little project should take an inexperienced seamstress, like me, about 30 to 45 minutes from start to finish. Remember to have fun, be creative, and share!